Create your first sharing
A sharing connects source calendars with a target. You start one from the dashboard via “New sync” (in the sidebar: “New synchronization”) — after that you are guided through the setup step by step.
Prerequisite: at least one connected calendar. To link your own calendars you need two writable calendars (possibly from two accounts).
Video: Share without exposing private events
Section titled “Video: Share without exposing private events”
Clicking play loads YouTube. Data will be sent to Google.
Step 1: Choose the type
Section titled “Step 1: Choose the type”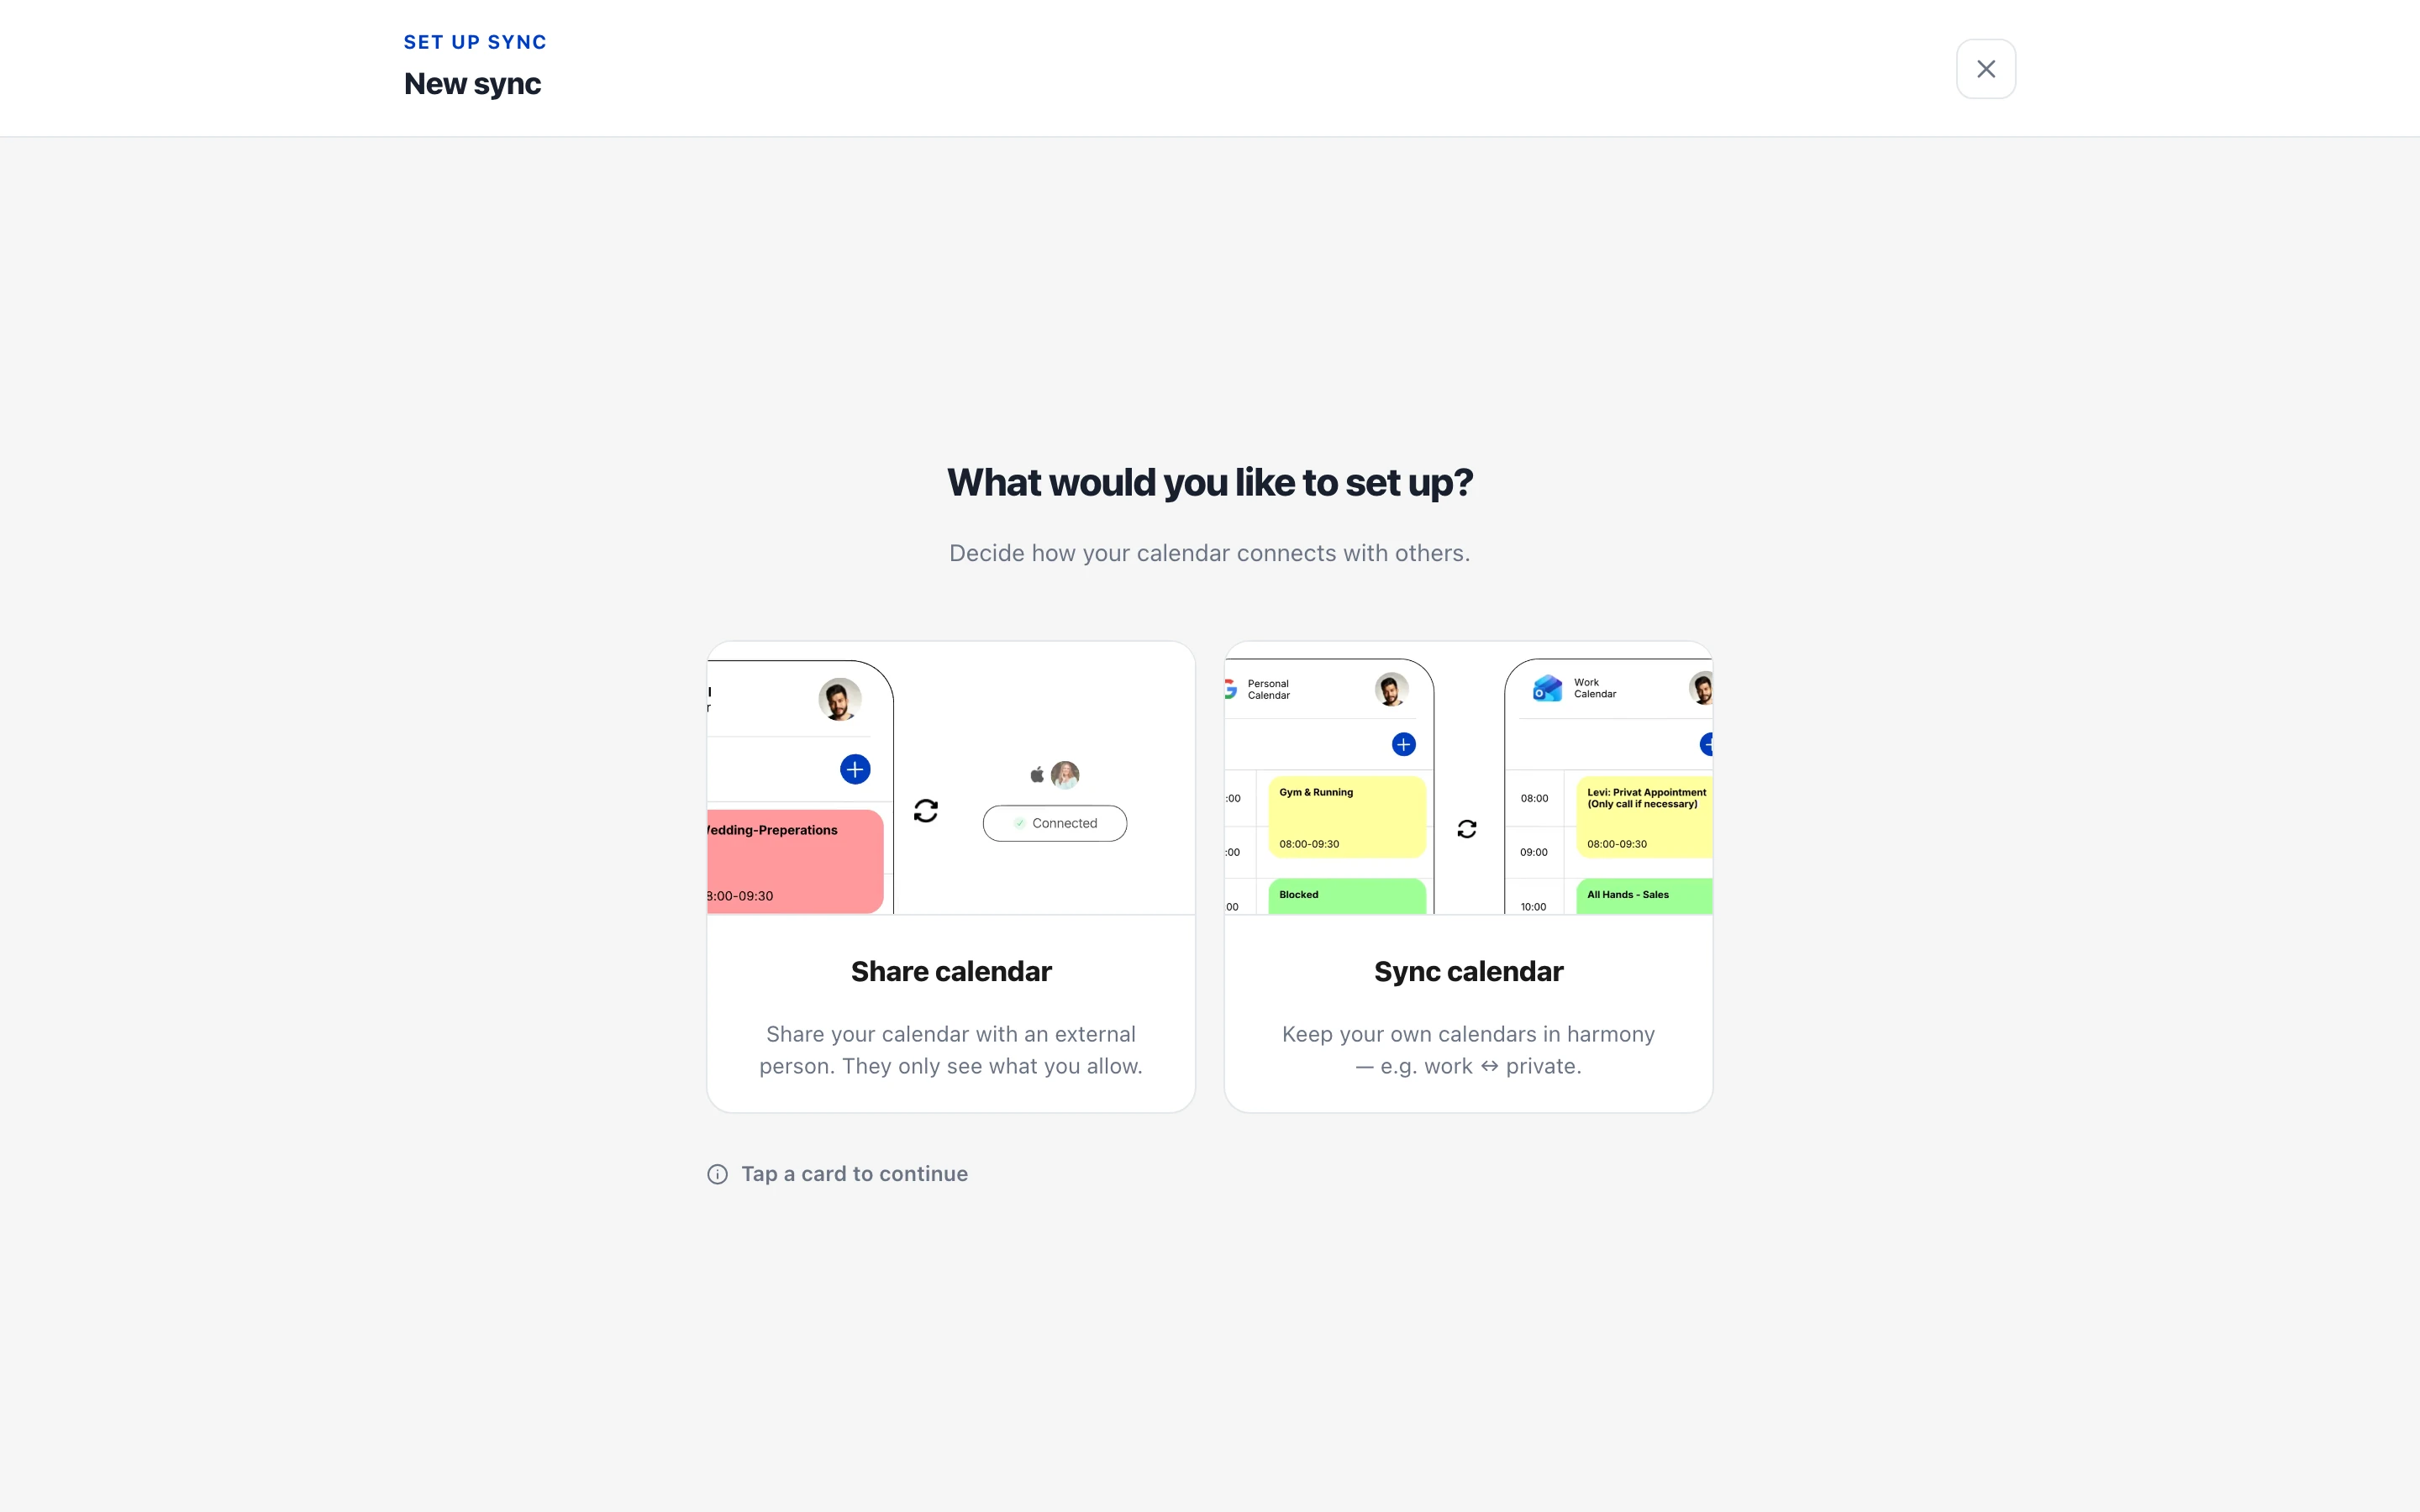
You can choose between two paths:
- Share calendar — your availability goes to another person. They receive an invite link and choose their own target calendar.
- Sync calendar — you link two of your own calendars, one-way or both ways (available on Basic and up). No invite link needed. (Details: sync your own calendars — this article follows the sharing path.)
Step 2: Pick calendars
Section titled “Step 2: Pick calendars”Select one or more source calendars — across all your connected accounts. All busy times from these calendars flow into the sharing combined.
A calendar missing from the list? Via “Connect calendar” you can attach another account right there; your progress is kept.
Step 3: Set visibility
Section titled “Step 3: Set visibility”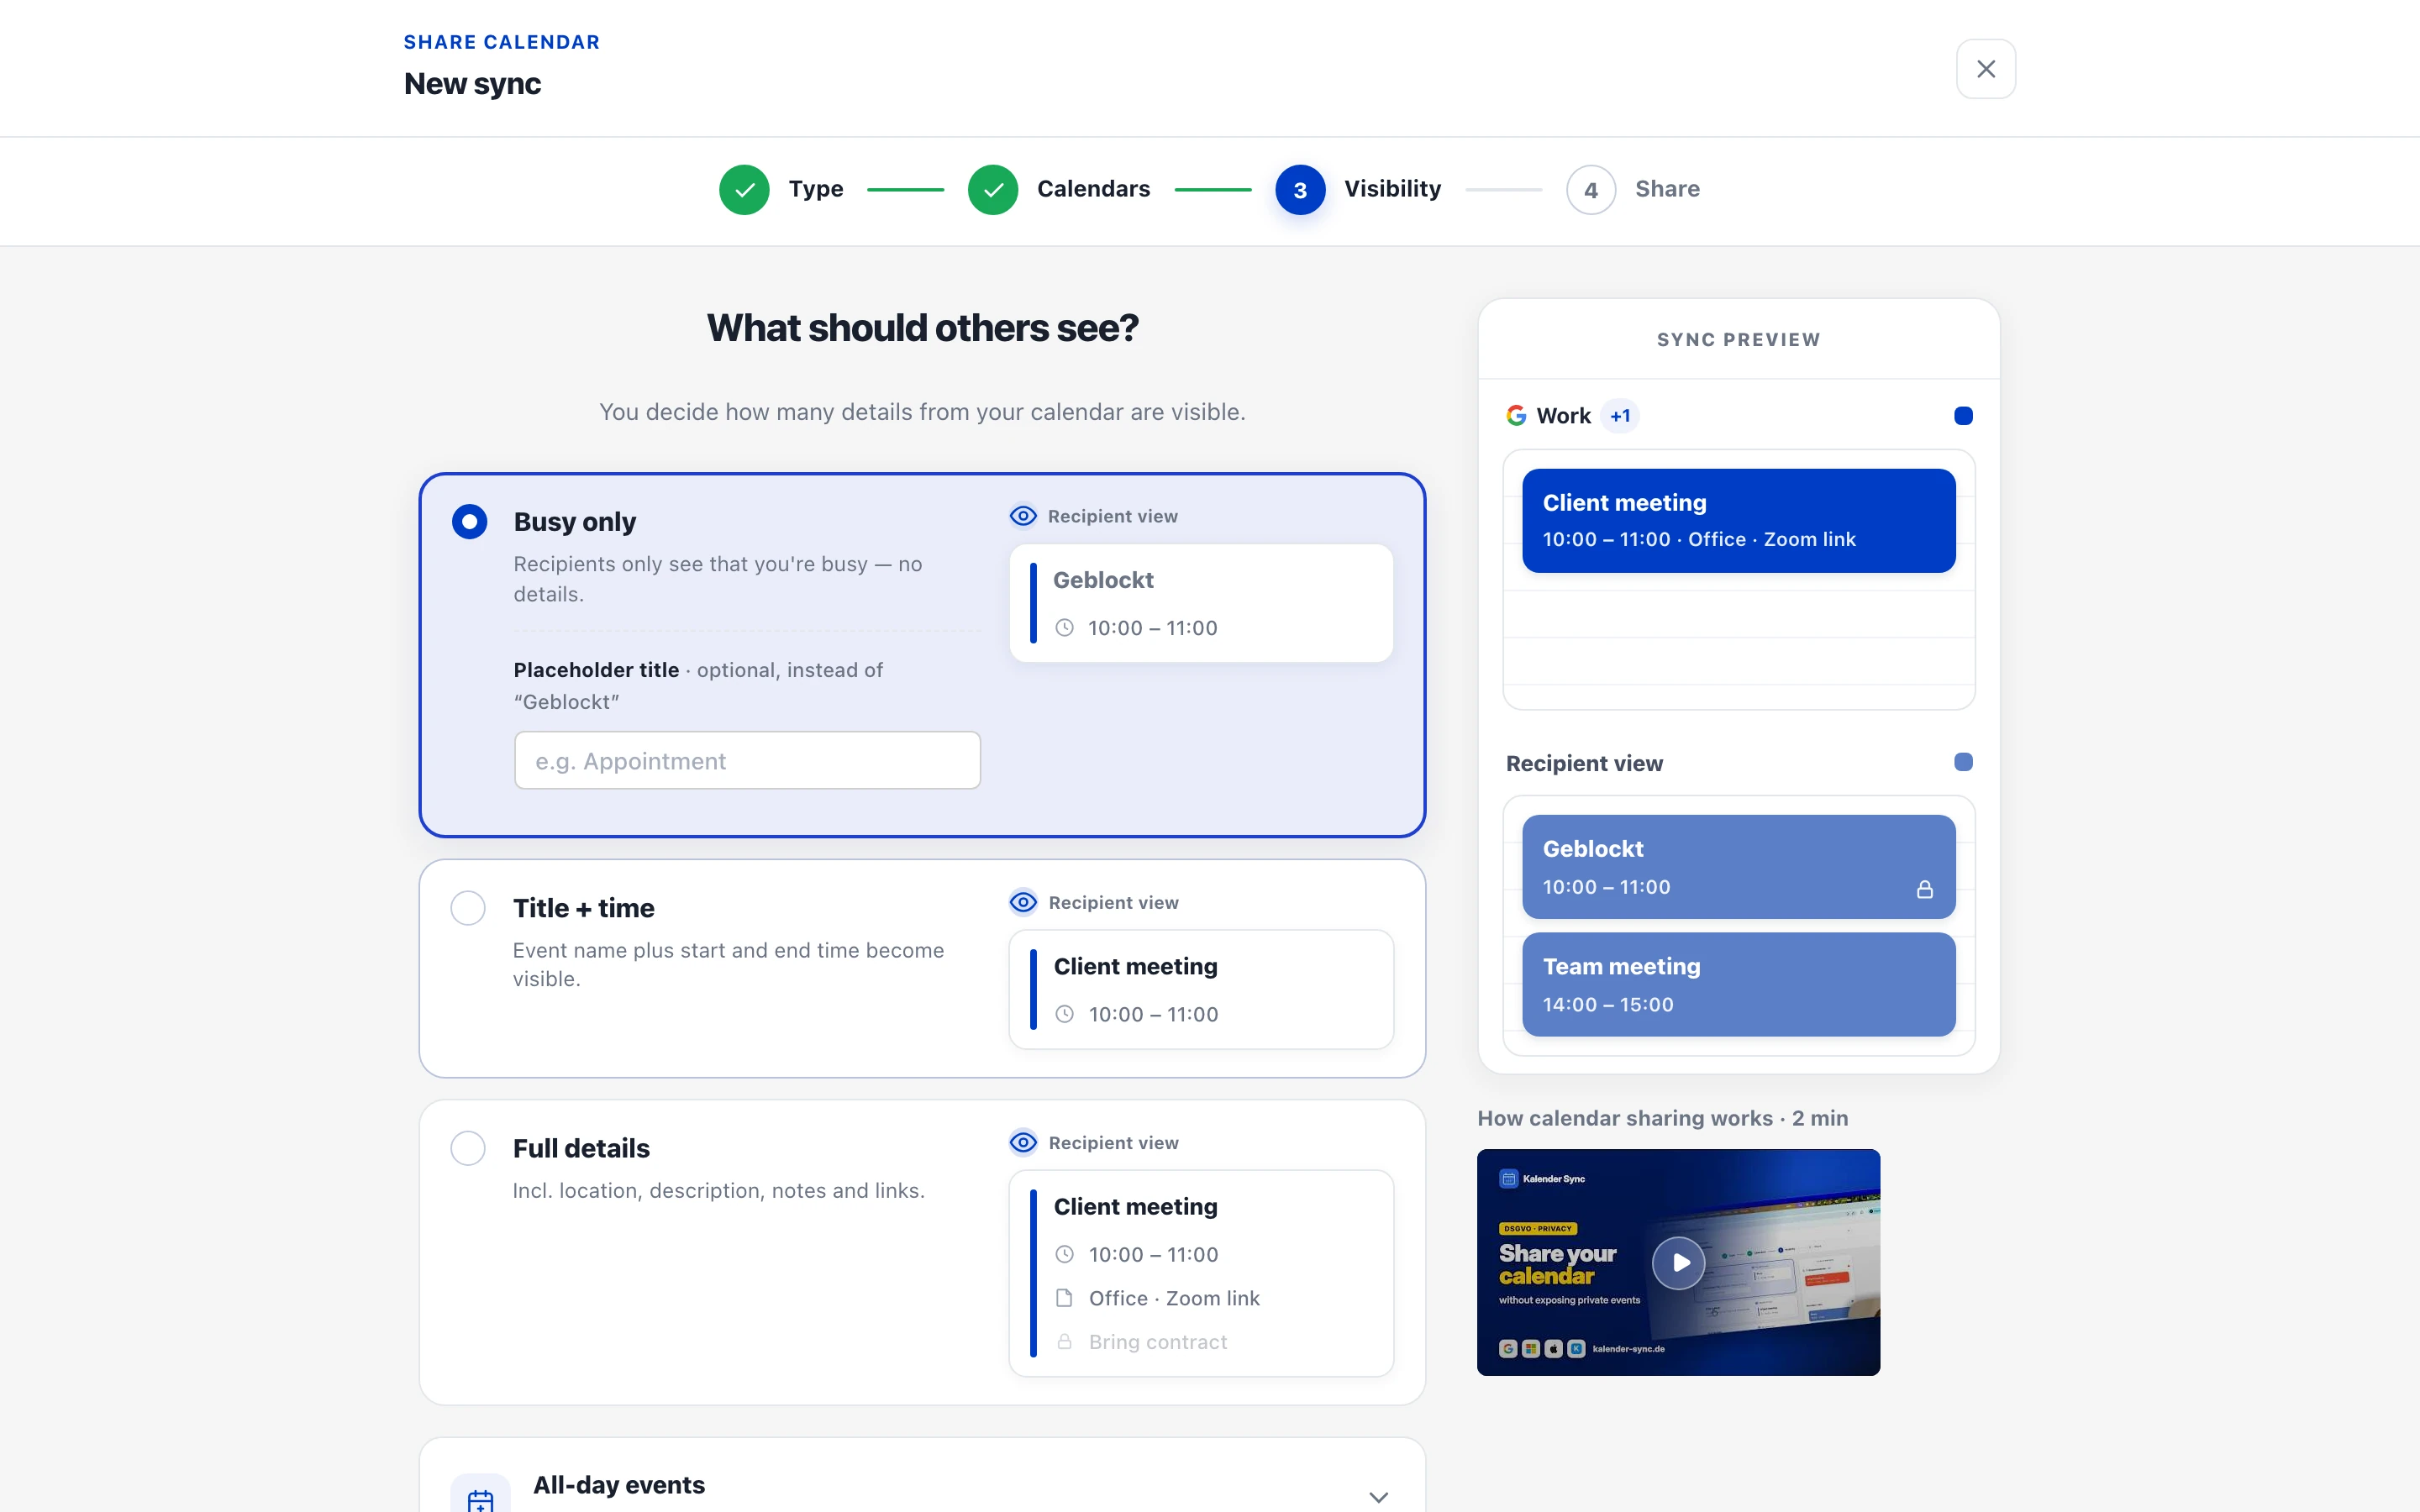
Now you decide what the receiving side sees:
| Level | Description |
|---|---|
| Busy only (default) | Only that you’re busy — no details |
| Title + time | Event name plus start and end time |
| Full details | Incl. location, description, notes and links |
All details on the levels and what is never transferred: Visibility levels.
Two optional fine-tunings at this point:
- Placeholder title (Basic and up, with “Busy only”): your own text instead of the default “Geblockt” — e.g. “Busy” or “Private”.
- All-day events: by default they are treated as free (birthdays and public holidays won’t block a whole day). You can choose “Block the whole day” instead. More under All-day events.
Attendee lists and third-party data are never transferred — regardless of the level.
Step 4: Send the sharing
Section titled “Step 4: Send the sharing”Finally you create the sharing and invite the receiving side — via a copyable invite link or directly by email. The link is valid for 7 days and single-use.
In the dashboard the sharing shows as “Pending” until the invitation is accepted — what the receiving side sees is covered in I received an invitation. After that the status switches to “Active”.
After setup
Section titled “After setup”- The initial sync runs in the background and can take a few minutes depending on the number of events (up to half an hour for large calendars). You’ll receive an email once it’s complete.
- The synced range is 3 months into the past; into the future depending on your plan: 6 months (Free & Basic) or 18 months (Business) — older and more distant events stay out (sync window).
- From then on, changes flow automatically: almost instantly for Google/Microsoft on Basic and up (every 30 minutes on Free), every few minutes for Apple/KSuite/iCal feeds (How sync works).
Nothing arriving? → Sync not working — checklist